


Installation
Instructions on how to Install the Case Portal Plugin
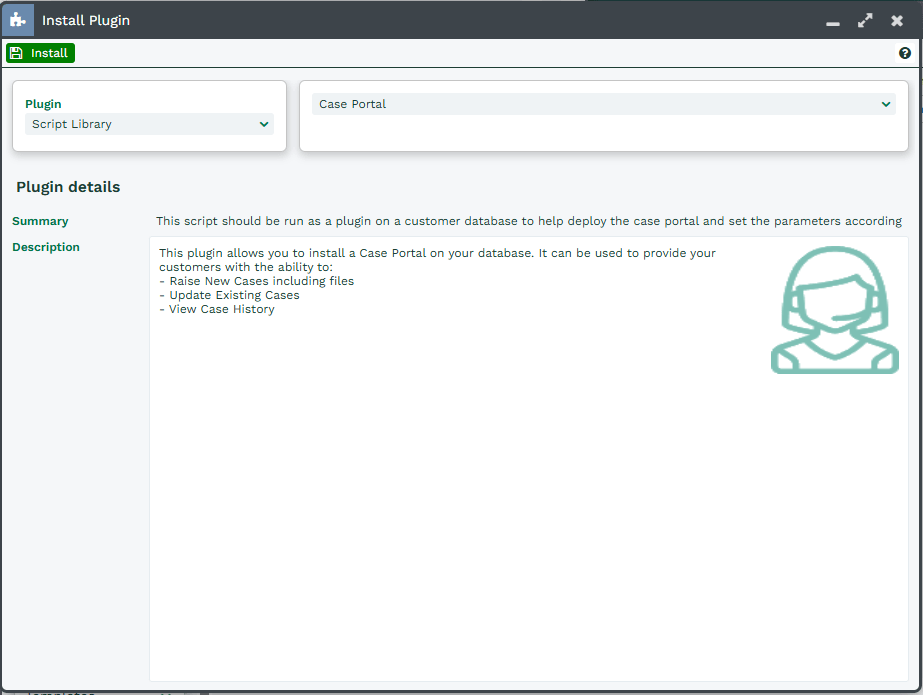
To set up the Case Portal, install the Case Portal Plugin into your Workbooks database. As a System Admin, click Start > Configuration > Automation > Plugins > Add Plugin. From here, select Script Library and then Case Portal. Select Install to begin the Plugin installation
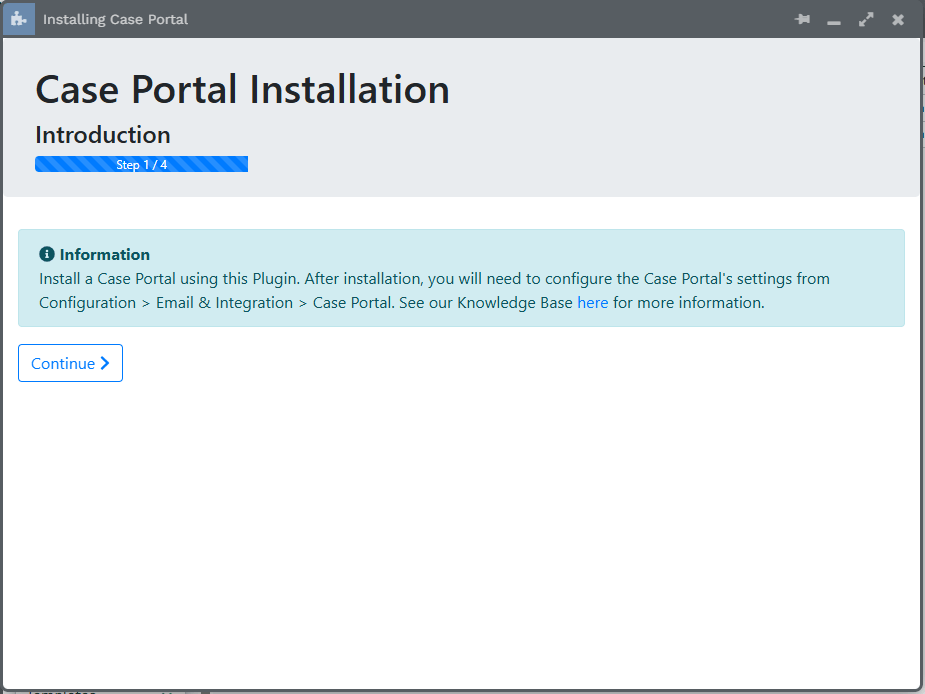
Step 1: Click Continue on this screen to proceed with the installation of a Case Portal.
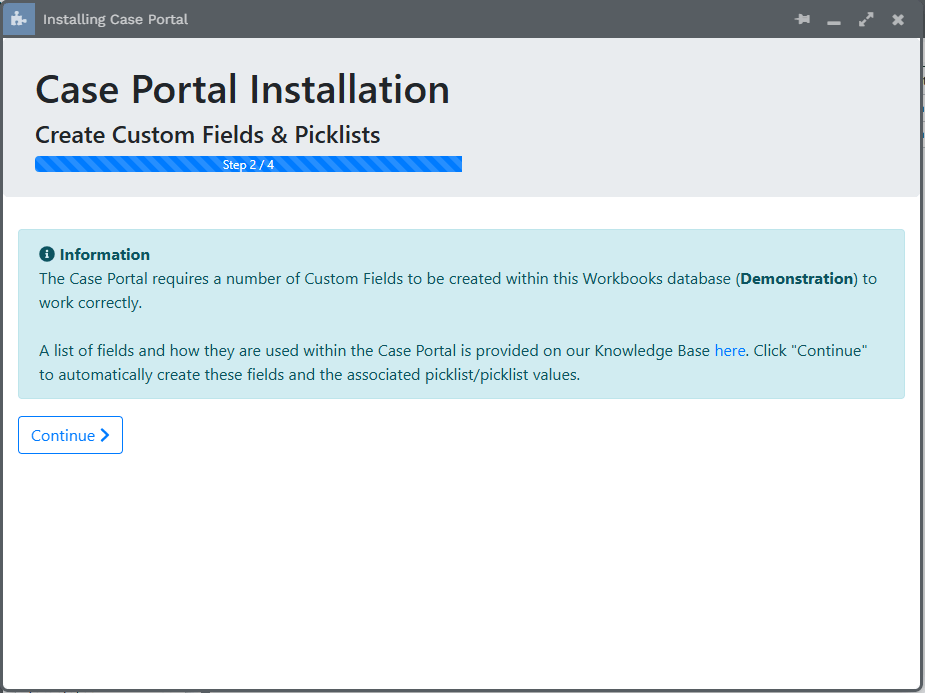
Step 2: Click Continue to begin the installation of Custom Fields and Picklist/Picklist Values required by the Case Portal
Note
This may take a few minutes to complete. Custom Fields are created in the background, you will be notified upon completion.
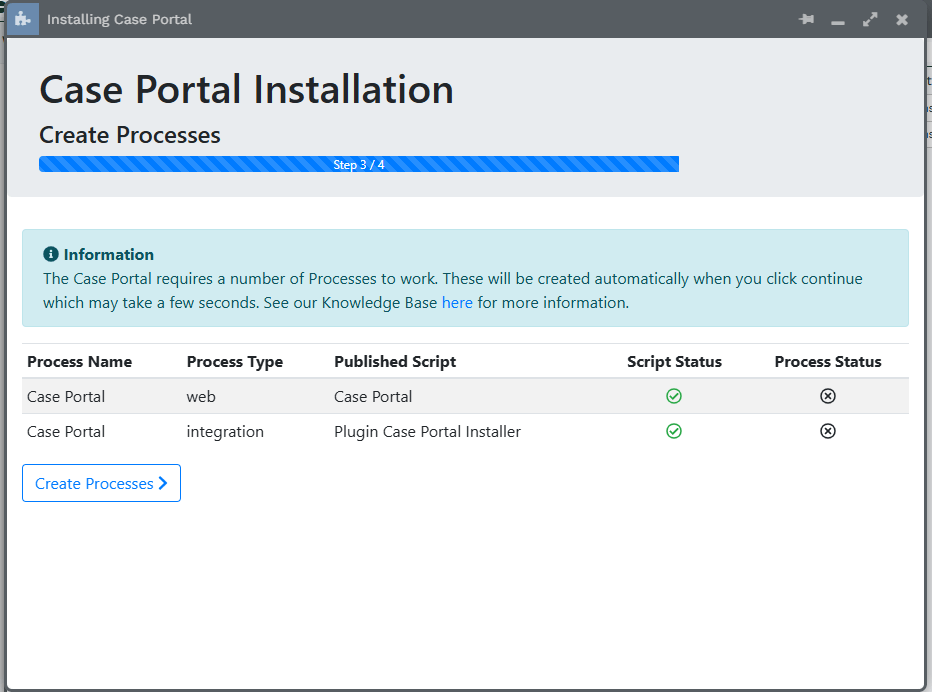
Step 3: Click Create Processes to install the required automated processes required by the Case Portal. Two processes will be created:
- Case Portal (Web Process): This process provides the Case Portal UI where a customer will login to view and update their Cases with your business.
- Case Portal (Integration Process): This process provides a UI within Workbooks for System Admins to configure the Case Portal behaviour and functionality.
Step 4: The Case Portal and it’s required configuration has been successfully installed, or queued for installation in the background. You can close this window. The Case Portal settings must now be configured under Configuration > Email & Integration > Case Portal.
The plugin provides the URL to the Case Portal installed on your database. Copy the URL to your clipboard and embed this in an iFrame on your website, or alternatively, share this URL directly with customers. You will need to invite People to the Case Portal before they can login, see here for further information.
