Form Layout Configuration
A guide of how to set up the Form Layout and create a Button Process for DocuSign after a Template has been created.
Once you have configured the DocuSign Plugin, the integration will create the required Custom Fields on the selected record type if they do not already exist. These should be configured on a Form Layout as outlined below, to show the required information for that document. Additionally, the plugin provides you with the Parameters required in order to set up a Button Process used to generate an envelope.
This page guides you through how to setup and configure the Custom Fields and the DocuSign Button Process.
Configuring the Custom Fields
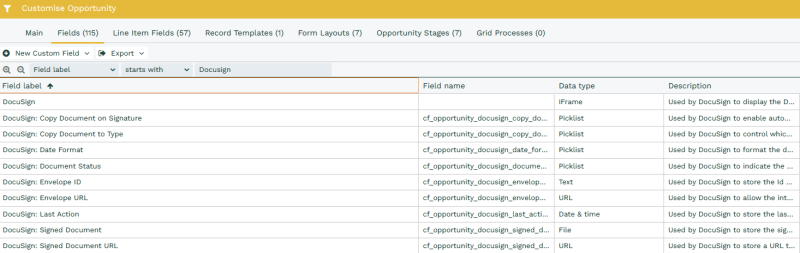
Once a document has been configured, you will be able to access the Custom Fields for each record type from Start > Configuration > Customisation > Record Types, select the appropriate record and then go to the Fields tab. All of the Field Labels will start with DocuSign so you can apply a filter to find the Fields that were created during installation. All of these Fields are created in the background and are hidden by default, as to not affect your existing Form Layouts.
A complete list of all of the Fields created by the Integration and their purpose for each Record can be found on our here.
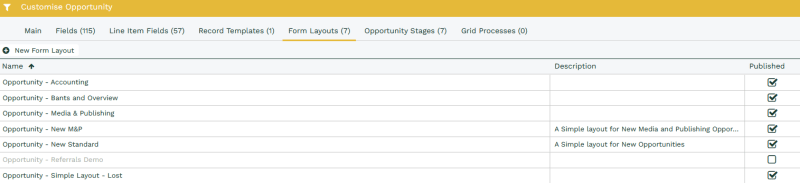
Navigate to the Form Layout tab and choose which of the Form Layouts you would like to apply these Fields to. You find that you want to create a new Section on the Form Layout called DocuSign so that they can be easily found on the Form.

Some fields should be made Read Only as they are integration system fields, this will prevent Users from accidentally overwriting any of the data that is pulled in from DocuSign. We’d advise the following fields are made read-only:
- DocuSign Status
- DocuSign Last Action
- DocuSign Signed Document
Note: Custom Fields should only be made Read Only on the Form Layout, and not on the Custom Field itself. If Custom Fields are set to Read Only at the field level, the integration will be unable to update them, causing a failure.
The DocuSign Envelope ID and DocuSign Envelope URL fields should be left hidden. These fields are again only used to ensure the integration functions correctly and the user does not need visibility of them. If you decide to show these, make them read-only – if a user changes these values, the integration may behave unexpectedly.
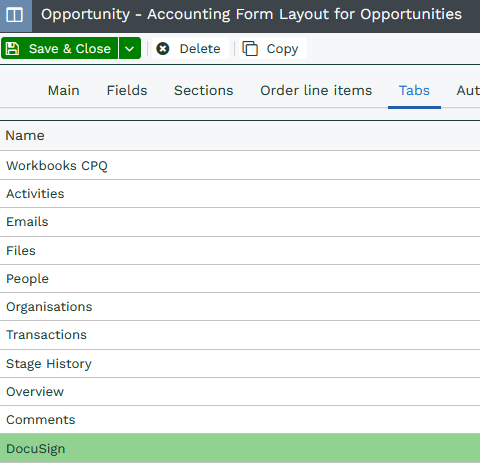
Our recommended layout is shown below:

Once you have configured your Form Layout, ensure that both the DocuSign and Files tab are enabled too.
- The DocuSign tab is required in order to generate the Envelope in Workbooks before it is sent out to your specified recipient.
- The Files tab is not required, but recommended as any additional Files created by the DocuSign integration after the signed document, such as the Certificate of Completion or additional supporting documentation, will be added to the Files tab automatically. For example, if you request a copy of personal ID during the signature workflow – this file will be available for viewing on the Files tab once the document is signed.
Once configured you will be able to see all necessary DocuSign related information.
Setting up a DocuSign Button Process
Regardless of the integration type that you have chosen, you will need to manually configure a Button Process for each document that you set up in order to generate a DocuSign Envelope for the record and request a signature.
On the final page of the configuration, once the setup is complete, you will see a summary of the document that you have configured including the document name you set, plus some additional parameters that you need to set on your Process Button.
Note: We would recommend not closing this screen as you will need to refer back to this information when setting up the Button Process.

This Process will need to be placed separately on each Form Layout that requires it. For example, if you have two Form Layouts, you will need to follow the below process twice, once for each Form Layout.
From Start > Configuration > Customisation > Record Types select the appropriate Record type and select the Form Layouts tab.
Once you have opened the required Form Layout select the Automation tab:
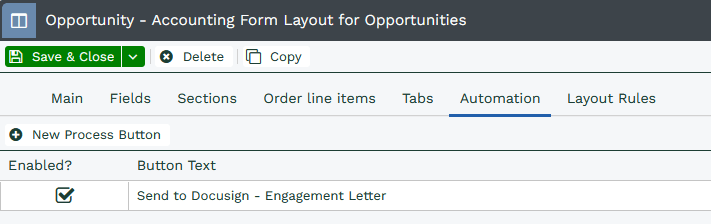
On this tab you will see any existing automation that is already configured for this Form Layout. Click New Process Button, which will show a new dialogue box and allow you to configure the new Process.
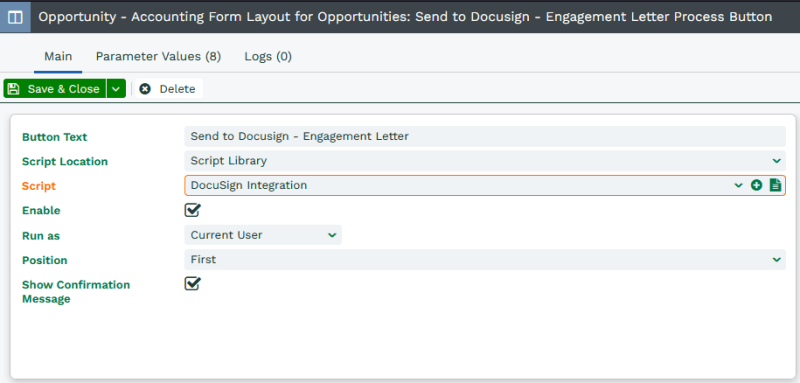
Set the following information on the new Button Process:
- Button Text: This is what users will see when selecting the Button Process
- Script Location: Select Script Library in order to use the correct version of the script
- Script: This should always be set to DocuSign Integration
- Enable: Check this in order for the Button Process to appear on your form layout
- Run as: Set this to the Current User so that you can see who sent the document in Audit. However, this User will also require access to the API Data so you will need to ensure that your Permissions are set up accordingly.
- Position: Where the Process appears in the list of available Button Processes when the user clicks Run Process from the record
- Show Confirmation Message: Will inform you when the Process has successfully ran. We’d recommend ticking this box so the user is notified of next steps after they have pressed the button
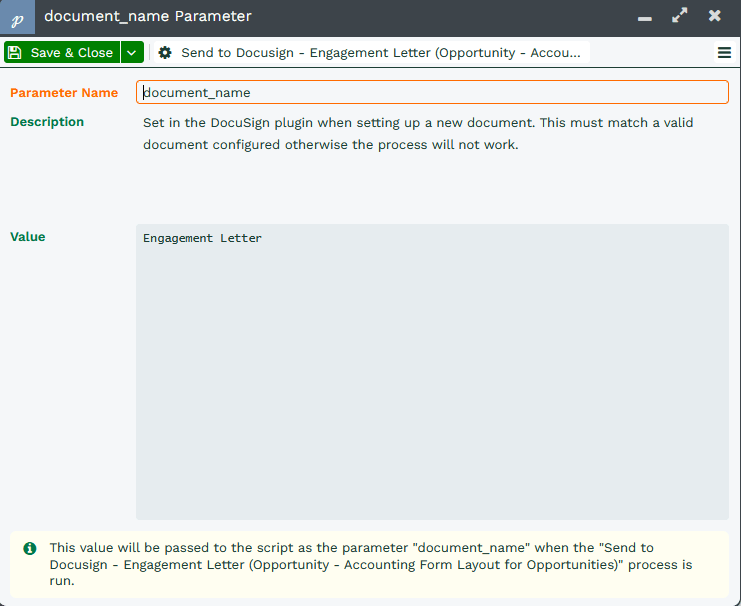
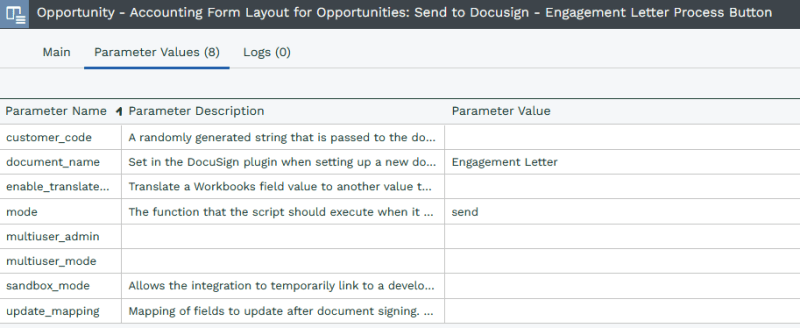
Once the Process has been named and configured press the Save button. This will show two new tabs, Parameters and Logs. On the Parameter tab, amend the document_name and mode parameters as per the plugin success screen. In addition to this, you may wish to change whether the button should be set to a Production or Sandbox environment by configuring the “sandbox_mode” parameter as well. See here for further information.
Note: Without these Parameters set the DocuSign Process will fail!
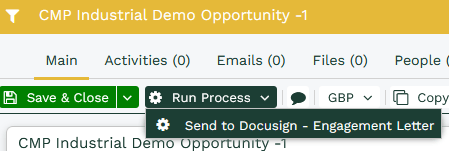
Once all parameters have been set, Save & Close the Button Process, and the Form Layout. You can now access the Button Process from any document’s Main tab that is using the specified Form Layout.