


Multi Language
If you are an existing customer and you work in a language other than English (UK), you have the option of purchasing the Multi Language Extension. Currently available languages are:
- English (UK)
- English (US)
- German
- Spanish
This extension must be purchased for each user. Once enabled, the extension will give you the ability to view a translated version of Workbooks. The Multi-Language Extension is automatically included in Business Professional and CRM Professional licences.
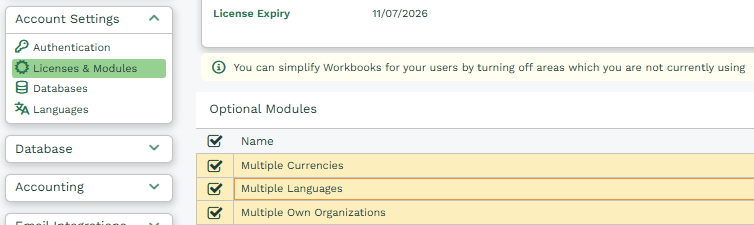
Once you have the Extension added, make sure you have enabled the Multiple Languages module in Start > Configuration > Account Settings > Licences & Modules > Modules, and make sure you assign the Licences to the appropriate users. These users will have to log out and back in before the changes take effect.
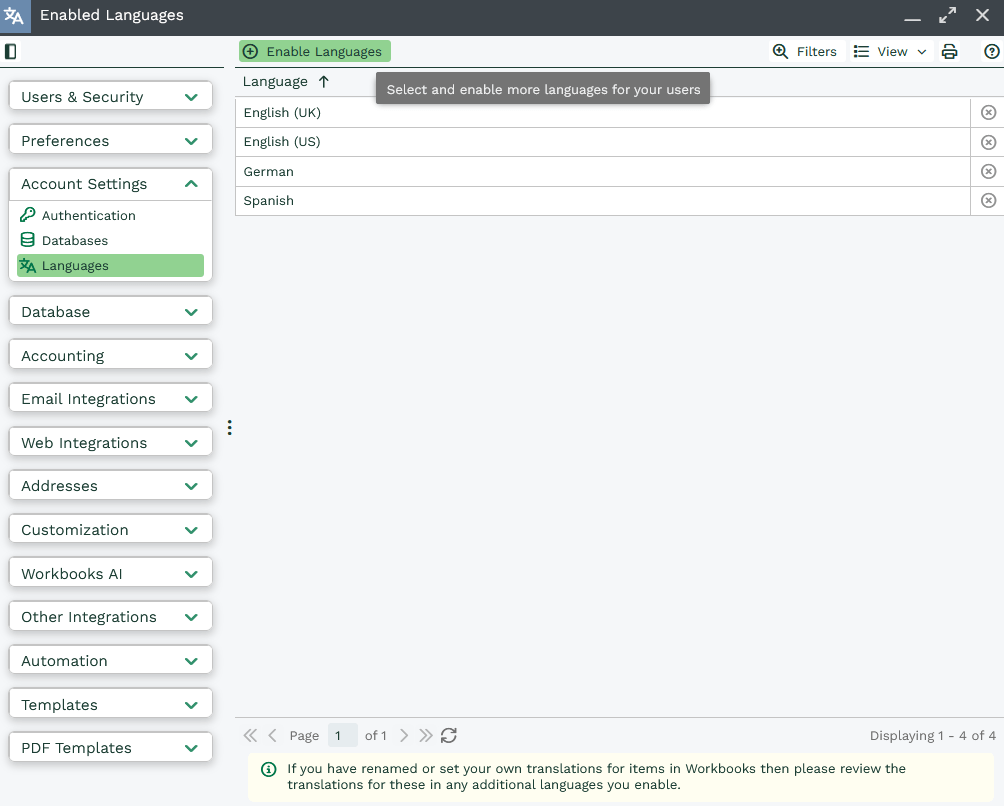
System Administrators will be able to select which Languages are available to Users. To choose these, go to Start > Configuration > Account Settings > Languages and click the Enable Languages button.
The Users can then select their Default Language in their Preferences via Start > Preferences > Location & Time > Language. The login screen will automatically translate depending on your browser language settings, and you can ask Workbooks to do the same by using the Use Browser Default option.

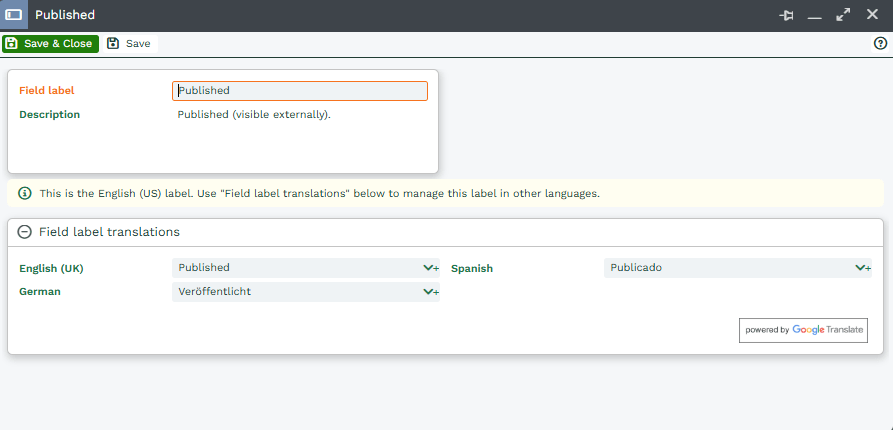
All standard Workbooks fields and messages will be automatically translated, but you will have to go through each of your custom fields to make sure that they also get translated. To do this, go to Start > Configuration > Customisation > Record Types, select the appropriate record type and then the appropriate field.
Expand the Field label translations section. You will see a field for each of the enabled languages; clicking the drop-down arrow will give you the Google translation, but you can free-type your own translation in if you do not believe this to be correct.
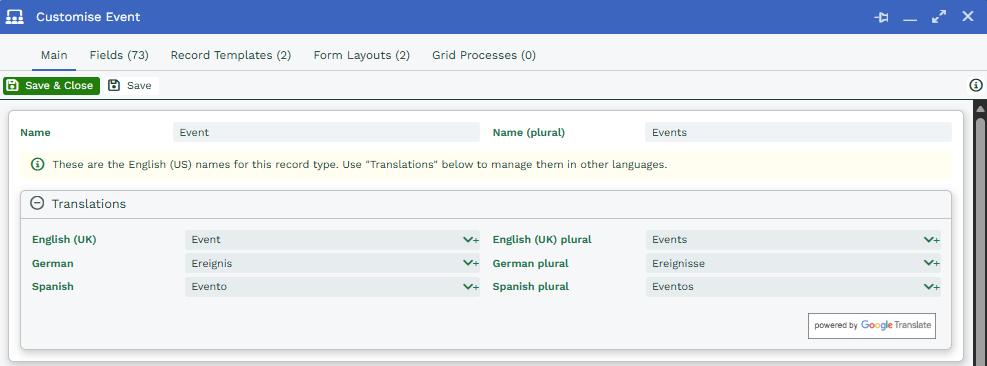
You can also do this with form layouts and their sections, record types, record templates, landing page views and picklists.
When creating a new custom field, you will have to save the form before you are given the translations section.
Remember to also check the translations if you decide to change the name of an existing field or record type.
NOTE: Some items within Workbooks are not available for name changing, if this is the case, you will find that the associated Fields are read-only. An example of this is this the Accounting Document Field found in an Invoices Line Item grid.