


Authentication with DocuSign
Initial Authentication
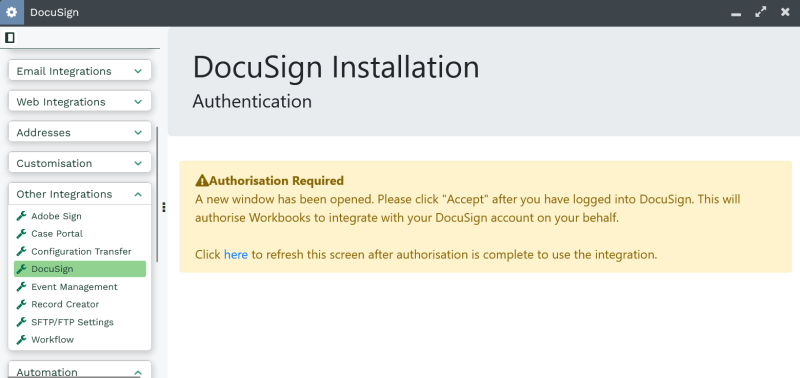
When you open the DocuSign menu for the first time, a message will be displayed prompting you to authenticate with DocuSign.
A new tab will automatically open in your browser requesting authorisation for Workbooks to use your DocuSign account on your behalf. The authentication screen will ask for your DocuSign Username and Password. Workbooks does not store these credentials, and the system does not have any visibility of what you enter on this form. When you log in, the integration uses a secure protocol known as OAUTH2 to authenticate. Workbooks receives 2 pieces of information upon a successful login, an Access Token and Refresh Token which are encrypted strings returned via DocuSign’s API. Workbooks does not decode these strings, and they are simply passed as part of subsequent API calls to DocuSign to create a temporary session in DocuSign. These tokens expire regularly, and are stored in Workbooks in API data with your Workbooks instance. They are refreshed periodically on your behalf, once you have authorised the integration to do so.
Depending on your browser settings, the authentication request may be blocked as a potential popup, so if a login tab does not immediately appear, check the browser bar for blocked pop-ups, and select “Always allow pop-ups” or go directly to the link specified.

You will then be asked to sign into your DocuSign Account and allow Workbooks access to create and send Envelopes on your behalf as shown below:

You must click Accept to use the integration. Once you have done so, the window will automatically close after a few seconds. Click the DocuSign menu item again to start configuring the Integration.
After the initial authorisation, you should not need to authorise Workbooks again. The integration will manage authentication on your behalf each time you send a document for signature.
Re-Authentication with DocuSign
By design, once you have authenticated with DocuSign during the initial installation, you do not need to authenticate again. However, this poses an issue if that user leaves and you need the integration to login as another DocuSign user.
Once you have authenticated, API data is created and regularly updated to store an Access Token and Refresh Token. To authenticate as another user, aside from the one that was used to initially configure the integration, you need to remove these records. To find them, add a filter where “Key” starts with “docusign_auth, docusign_refresh” – this should return 2 records as shown:
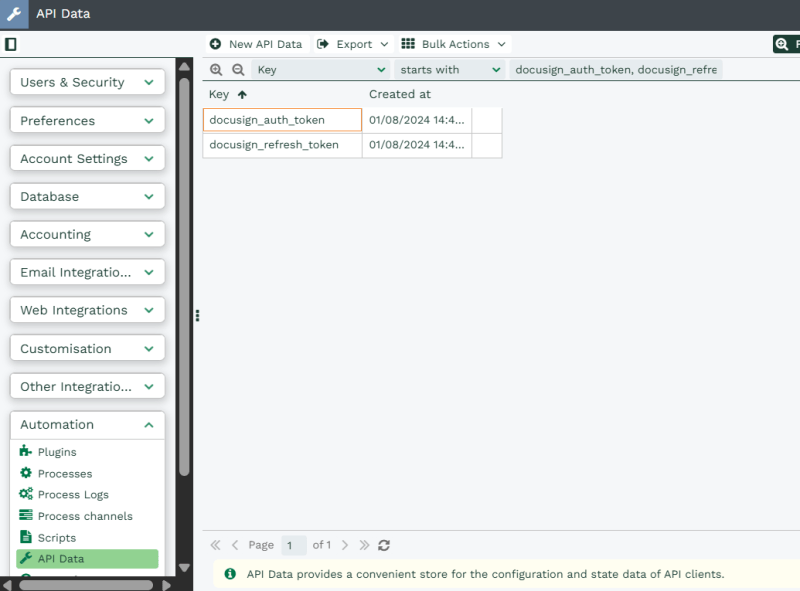
Simply delete both of these records. Click the “DocuSign” option from Start > Configuration > Other Integrations > DocuSign. At which point, you will be asked to re-authenticate with DocuSign again. As per the above section, repeat the authentication steps by entering the details of the new user you wish the integration to use. Once finished, the integration will continue as normal.