


Processes
A business process will often have many steps. In Workbooks you will implement a series of small ‘Processes’ each of which combines to implement a full end-to-end solution. Keeping the steps small makes things much more maintainable.
Workbooks Processes come in a variety of forms, either Scheduled, On Change, Web, Integration, Button, Grid or Report Processes. All styles of process invoke Workbooks Scripts to carry out their work.
For each type of process, there is a description field on the right-hand side of the form.
Scheduled Processes
The Scheduler within Workbooks allows you to define how frequently each different Process should be run; this can vary from every few minutes to monthly and be restricted to certain hours of the day or days of the week. For example you might schedule a process to check an external email server for new emails and import these into Workbooks to create new Cases: the ‘Email to Case‘ script within the Script Library can be used to do exactly this.
You can use the ‘Run Now’ button to initiate a Scheduled Process at the next possible opportunity. To avoid complication, Workbooks restricts you to running only one Scheduled Process at a time; any others which would otherwise run at the same time are queued until the first one finishes. Workbooks will not run a Scheduled Process any more frequently than the schedule but will attempt to keep close to the requested schedule.
Scheduled processes will be run at the next scheduled opportunity provided that they are enabled. Scheduled processes are automatically disabled if a script returns exit code 2, which script authors should use to indicate an error which means that the script should no longer be allowed to run. Exit codes 0 and 1 do not cause scheduled processes to be automatically disabled: by convention 0 means “all OK” and 1 means “try again later”. The behaviour for other exit codes depends on a setting on the scheduled process which defaults to allowing the process to continue to run.
To summarise the two options for Scheduled Process exit codes:
- Run again – A script can fail unexpectedly for a number of reasons; as long as it does not exit with code 2 it will continue to be enabled and will run again automatically.
- Disabled automatically – If a script exits with any code other than 0 or 1, then it will become disabled until a System Administrator re-enables the process again manually.
On Change Processes
On Change Processes run in the background after the modification or deletion of specified record types. The trigger to invoke the process is called a Listener; you can specify which record type(s) the process ‘listens’ to in the Listeners section on the process. This type of process is useful if the automation only needs to be performed on change of a particular record type rather than on a constant scheduled basis.
The synchronisation of Meetings with Google Calendar is a good example of this. Rather than have the process running on a schedule constantly looking for updates when nothing has changed, choosing to invoke the process on change of a Meeting means that the process only needs to run – and hence carry out the synchronisation – when required.
Web Processes
Web processes can be used to implement web services or web pages externally or within iFrames on Workbooks. A web process is often used as an interface on a website for users to update your database without having access to Workbooks itself.
An example of this would be a Contact Us form. The web process would appear on your website in the shape of a web form, then once the user enters their details on the form and hits send, a new sales lead record on your database would be created. Web processes can have all sorts of applications and are used to facilitate a significant portion of 3rd party integrations.
Integration Processes
Processes can be invoked from both the User Preference Panel and System Configuration Panel, these are called Integration Processes and are designed to give control to both the user and database wide for 3rd party integrations. Similar to how a Web Process works, a web page can be displayed within a panel as an interface to control your integration.
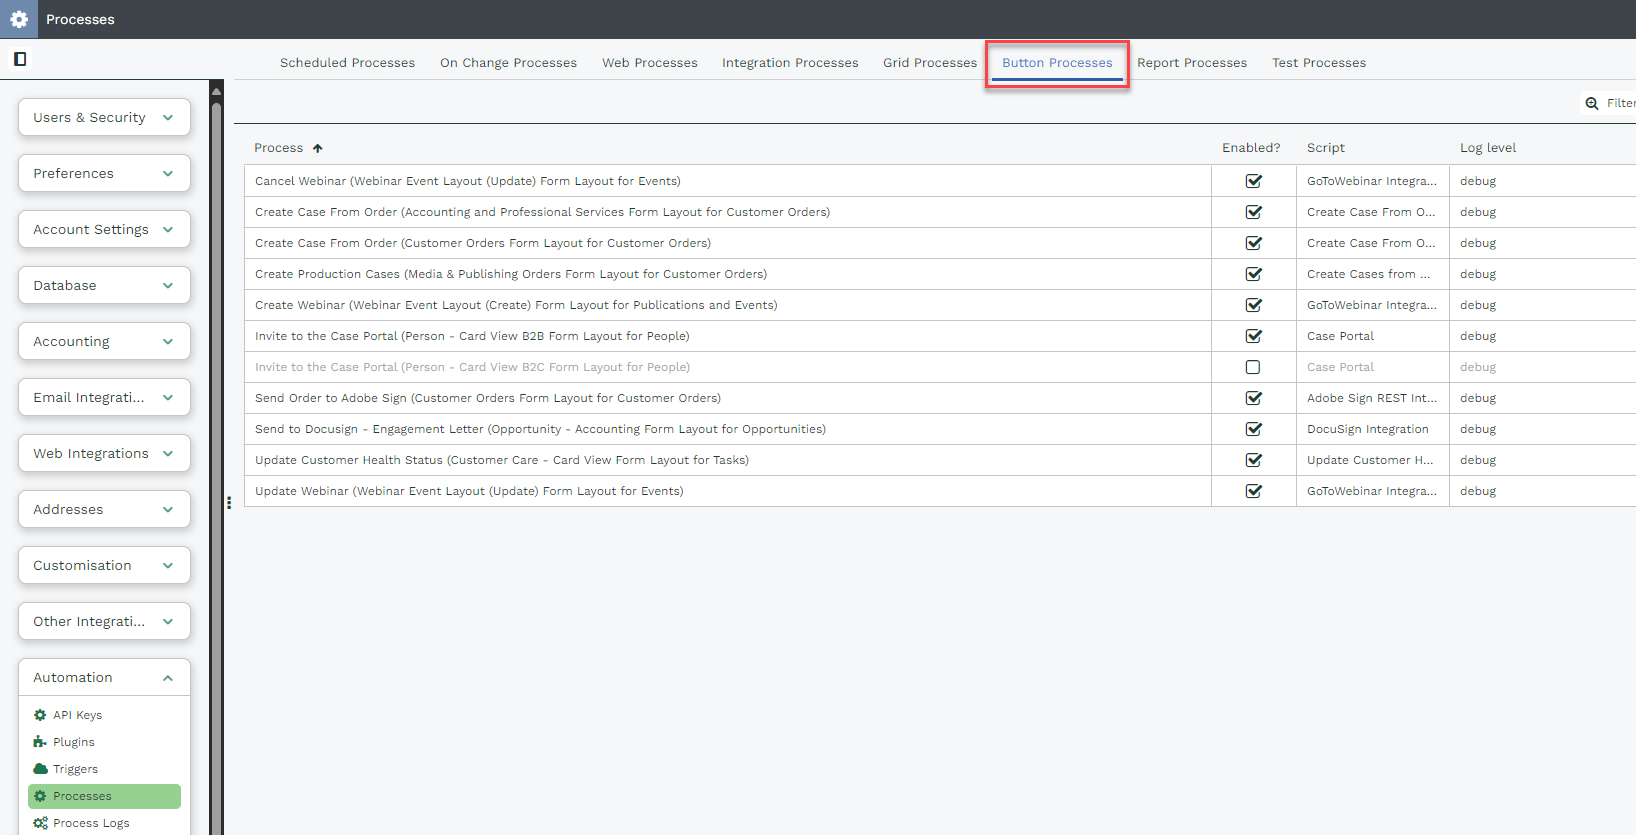
Button Processes
A Process Button can be added to your records, which, when clicked, initiates a specified Process. For example, you might add a button to a Case record that when pressed closes the Case and automatically sends an email to the Primary Contact using a relevant email template. You can also add a Process on Save, in which a Process is run every time the Record is saved. A simple example demonstrates how you might implement a Process Button to delete all line items from an Order.
A Process Button can run as the current user or as another user that you specify when configuring the Process. This allows users who wouldn’t normally have access to a particular part of Workbooks to use any automated processes that you may have in place.
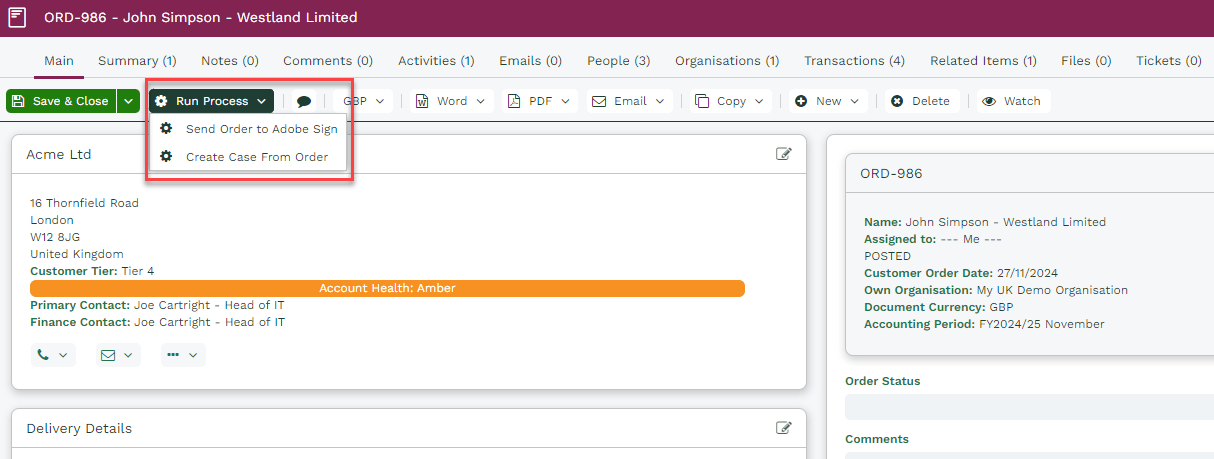
For example, you may wish to create a Case off the back of an Order. A user doesn’t need to be granted capabilities to the Cases feature to be able to use this Process Button as it can be configured to run as a System Administrator who has the capability to use all of the areas in Workbooks.
Once you’ve added a Button process to a form layout, you’ll be able to access relevant form layout within Configuration as shown below.
Grid Processes
A Grid Process is invoked in the same way as a Button Process – the script is called with the ‘form fields’ from the particular record that it is run from. The same script could be used for both a grid and button process; it would just be invoked from a different place. The process is run by opening a context menu from the relevant row in a grid on Landing Pages or tabs.
For example, you may wish to create an Opportunity from a Campaign Member. You can set up a process from Processes > Grid Processes or Customisation > Record Types > Campaign Memberships > Grid Processes. Once you’ve set it up, you will be able to run a process from a context menu on the Members tab of the Campaign. Another example could be a button process for sending out Orders to be signed, as below:
Report Processes
It is possible to perform a Bulk Action on the results in a Report by running a Process Engine Script. This allows the automation of common tasks on a group of Records, or the extraction and processing of data retrieved from a Report. This can be run on an existing or new Report. The process can also consider the filters saved onto the Report.
To enable a process to be invoked from a report, open the relevant Report in edit mode and open the Automation tab. Click Add Process, give the process a name and select the Script that you want to run.
Once you’ve set up your process you’ll see the Bulk Actions button on the Report. Selecting this will enable you to invoke the process (similar to a User-Invoked Process).
An example of this might be to create a script which creates Invoices for selected Orders. You could then create a Report which shows these Orders, add the Process to the Report and then run the Process.

Test Processes
If you use the Test button on a script, a Test Process will be created under the Test Processes tab. A Test Process gives you basic functionality to invoke a script and view the logs.
Running a Process
When a Process is run it is permitted to continue until it uses too much time, memory, or processor time. Set the Maximum Runtime for the process to be something sensible: if a scheduled process loops continuously and doesn’t finish no other scheduled process will start until it stops; a process button could appear to “hang” if the underlying process does not complete in a timely manner.
Process Failure
Effective management of processes is crucial for maintaining operational efficiency therefore, notifying the correct User or Group for process failures is vital.
You can set who and when to be notified in the event of a process failure by changing the “Notify” fields in the Termination section within the process.

- The recipient picklist for failure notifications lists User Groups at the top which will notify multiple Users and then individual Users further down the list will notify the one User.
- The frequency picklist allows you to choose to be notified every time a process fails or only when the process fails and disables. By default, this is set to notify on each failure.
It’s best practice to create a new User group named ‘Notify User’ and include a number of Users that would benefit to know of process failures. Please click here for more information on how to create a new User group. Once you have created the new group, you can use this group as the ‘Notify’ option for all processes.
If a notification recipient is disabled, deleted, or unable to receive notifications, the alert will default to the set “Notification Group”. Typically, the Notification Group is set to System Admin by default. This can be changed to another group, however, notifications will only go to group members who meet all conditions (not disabled, deleted, etc.).
Note
If none of the Users within the ‘Notify’ group satisfy this criteria, the notification will default to all members of the System Admin group again.
This group can be modified following the path: Start > Configuration > Database > Database Settings > Notifications the setting will be labelled as “Notification Group”.

Make sure that this group consists of ‘real’ users with ‘real’ email addresses, with active logins to Workbooks, otherwise a process might fail where no-one is informed and so users will presume the process is running as normal. If this user doesn’t log into Workbooks every day, it’s also worth ensuring that their notifications (within Start > Preferences) are set to notify the user via email so that they don’t miss any notifications about problems with a process.