


Case Portal Reports
Configure Reports on Cases that are used to drive the Case Portal
The Case Portal uses Reports to give full flexibility of which records are shown to your users. It can be configured with two different reports if required, one for open cases, and one for closed. You can control which Cases are visible by changing the criteria of these reports.
Two Report Templates are available – Template – Support Portal – Closed Cases and Template – Support Portal – Open Cases, we’d recommend only using these rather than creating your own reports. The Case Portal needs certain columns to be available and is expecting some columns to be named in a specific way. You should therefore not delete any columns from the report, nor edit any column names.
You can however add as many extra columns as you wish to each report such as Custom Fields specific to your business. These columns can be displayed in the Open/Closed Cases views on the Case Portal, allowing users the ability to search and sort the view by these columns.
Under the General tab from Email & Integration > Case Portal, you can choose which report drives the Open Cases view, and which controls the Closed Cases view. The Reports listed here must have a Category set to Automation to show in the list.
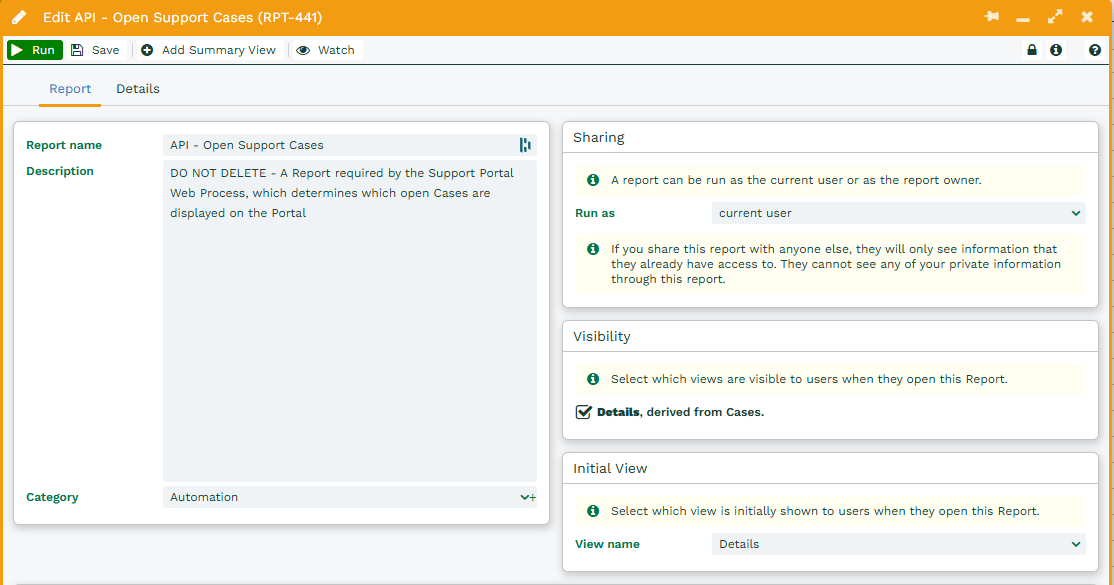
To access the Template Reports, click Start > New > Report > Create a report from a template report and choose “Template – Support Portal – Open Cases” from the list. Within the report:
1. Name the report appropriately, so that it is clear that it should not be edited or deleted, as this would affect the Portal.
2. Set the Category to Automation, if it isn’t already set.
3. Add a criteria for “‘Exclude from Portal?’ is false, plus any other criteria to restrict which cases are displayed, for example, only those of a certain Case Type.
4. Open the calculated “Status” column. This controls the Status that the customer will see based on the status of the case, using the following formula:
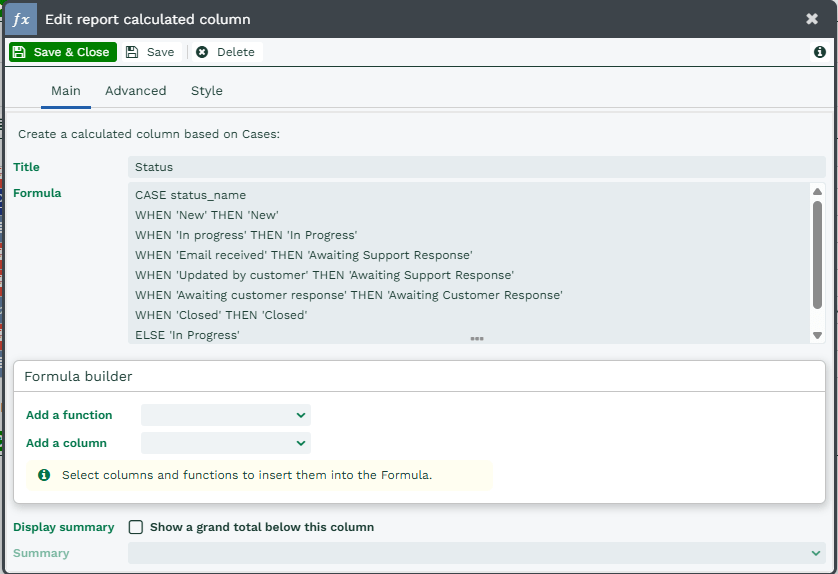
For example, if the Case Status is “Email received” or “Updated by customer”, then in the Portal the customer will instead see “Awaiting Support Response”. You should add new lines in here for any other Case Statuses that you use. The default value shown in the Case Portal is “In Progress”. You can also amend the output to suit your business better, for example, our internal Case Portal uses “Awaiting response from Workbooks Support” instead of “In Progress”.
5. Save and close the report.
6. Repeat Steps 1 to 6 for “Template – Support – Closed Cases”
7. Update the Case List – Visible Columns setting (also on the General tab) to show any relevant columns to Case Portal users based on the Reports you have configured.