


Displaying Reports
How to view your reports, and the benefits of using Categories to separate out different types of reports.
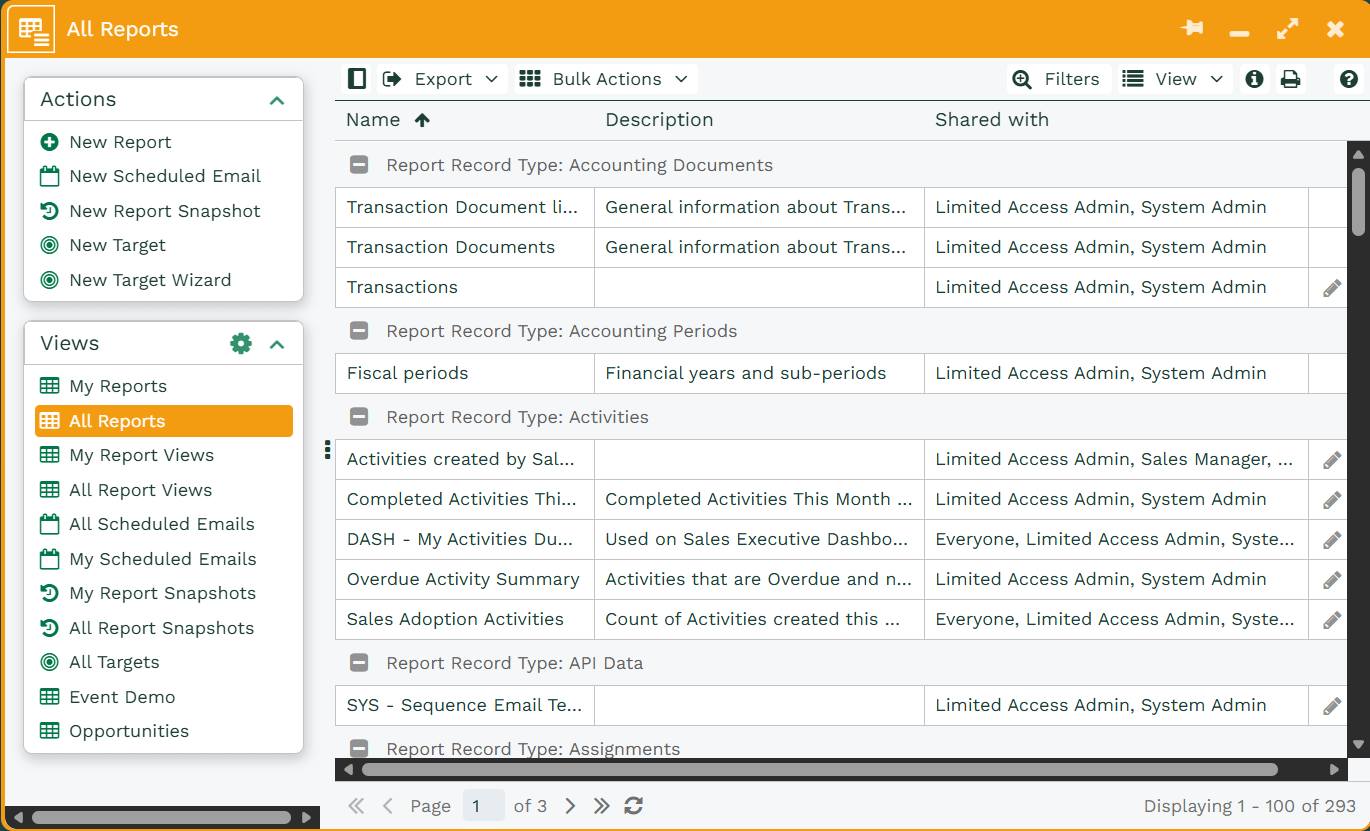
![]() View reports by clicking on Start > Reporting and choosing either My Reports or All Reports displays the Reports Landing Page.
View reports by clicking on Start > Reporting and choosing either My Reports or All Reports displays the Reports Landing Page.
The Reports Landing Page displays four views:
- My Reports – the reports you’ve created.
- All Reports – the reports you’ve created plus all those that other Workbooks users have created and shared with you.
- My Report Views – any report summary views you’ve created, includes information such as Last run by, Last run at, Report Name, Report record type etc.
- All Report Views – any report summary views you’ve created plus all those that other Workbooks users have created and shared with you, includes information such as Last run by, Last run at, Report Name, Report record type etc.
- Note: My Report Views and All Report Views can be clicked on but will navigate to Parent Report.
Tip
Remember, you can add your most frequently used Reports and Charts to a Dashboard to make them easy to find.
You can customise the appearance of this (and any other) Landing Page including grouping, filtering and saving views. Reports can also be displayed as a calendar view, for more information on customising views click here.
There are also views to show any Scheduled Emails that you or others have set up.
Reports can be added to Landing Pages as Report Views, which makes it easy to access important data and statistics. Information on Report Views is located here.
Reports have a Category field. Use this field to make it easier to find reports. Create a filter then returns all reports with a Category of Sales. Then save this filtered view with a name of “Sales Reports”. The list of categories is maintainable in Picklists, or you can simply type the category.
To open any of the Reports hover over the row until it becomes underlined and click on it once.
You can apply a filter to the Report results without changing the underlying Report data simply by clicking the Filters button.
NOTE: With the Calendar and Accounting Period range filters it is possible to create Reports that dynamically change the information presented each time the Report is run, meaning further manipulation of the Report filters may not be necessary after the initial filter is applied.
By default, Workbooks reports are private to the user who created them but they can be shared with other users (or user groups). To see who a report is shared with you can activate the ‘Shared with’ column on the Reports Landing Page. Click here to find out more about sharing reports