Unified PDF for Transaction Documents
The standard Unified PDF that we provide to all customers has been updated so that it is compatible with the DocuSign integration. This will be included as standard in any database created after 1st July 2019.
Note: If your database was created before this date please raise a Case with Workbooks Support so that you can be provided with the latest version.
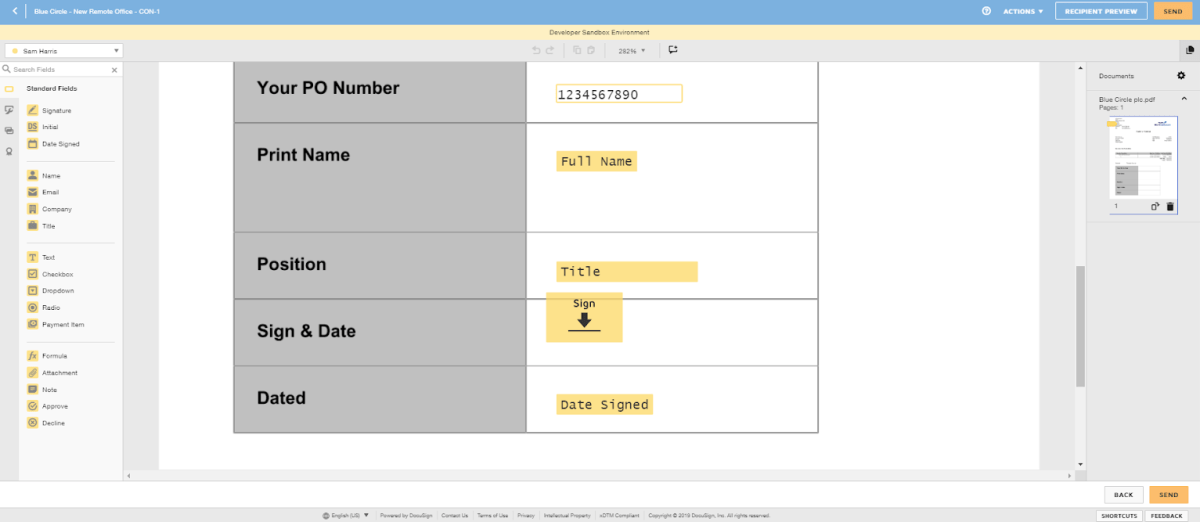
The Unified Document includes a number of tags that can pull information from the Record and populate it onto the PDF when sending, these are:
- Signer’s DocuSign Profile Title (this is likely to be blank when recipients receive it for the first time if they do not have an existing DocuSign Profile).
- Signer’s Full Name
- Signer’s Email Address
- PO Number (Customer Reference field)
Further to this there are also fields on the Document that can be populated by the Signer when receiving the document, which are:
- Signature
- Date of Signature
The below example will show you how to setup and send a Contract using the Unified PDF file to a Primary Contact. This example will assume that you are using the latest version of Unified that includes the DocuSign fields.
Stage 1 – Configure the Integration
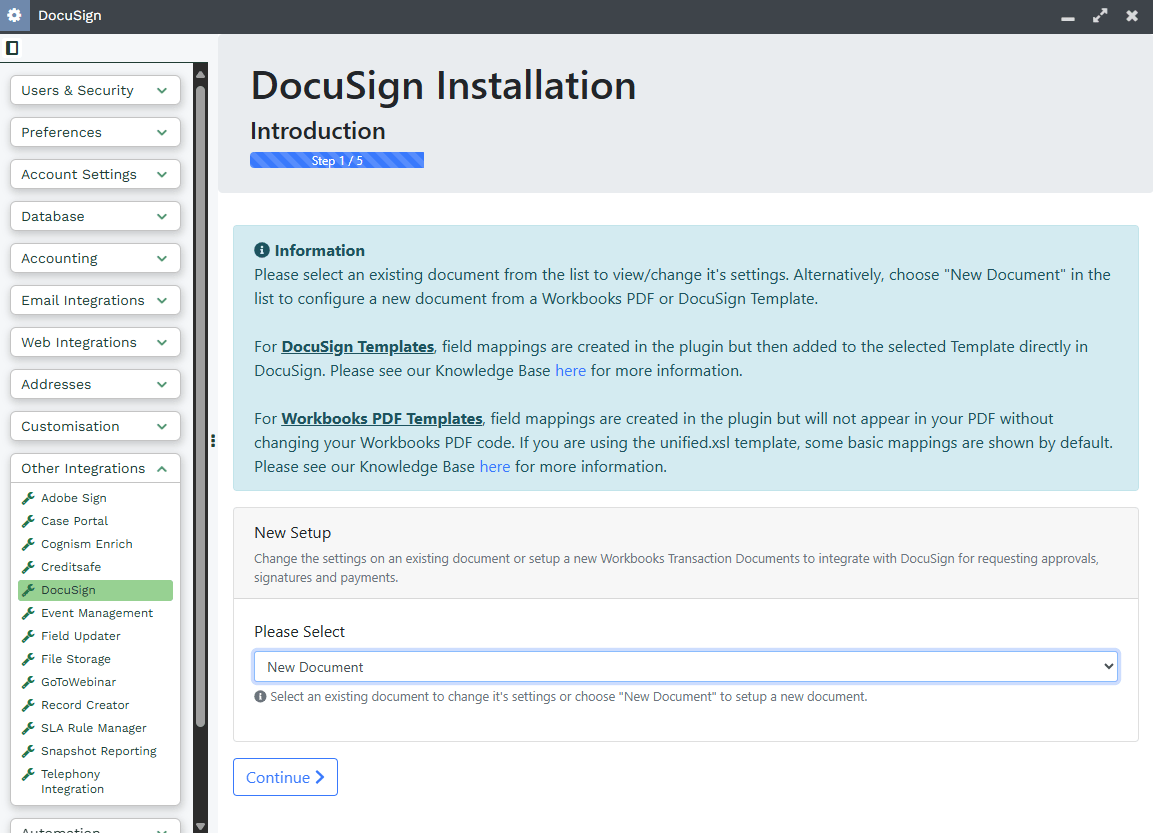
Create a New Document from the DocuSign integration Menu which is accessed from Start > Configuration > Other Integrations > DocuSign. Select New Document, then Continue.
Configure the document settings to your specifications, ensuring that you provide an appropriate name and select Contract as the Record Type.
For this example, we’ll use a Workbooks contract PDF. Select Workbooks PDF as the Integration Type. This will then show a new option where you can select the PDF Template that you want to use.

For this example leave the PDF File Name Fields blank. However, you can change the fields that will be used to generate the PDF filename – by default, the Customer Name will be used.

For the notification settings, we recommend that you set up the integration to receive all DocuSign Notifications. This will ensure that you are kept fully updated on all customer actions. There is also the option to store a Certificate of Completion as a separate PDF when the document is signed. If you have the Workbooks Audit module, you will also be able to see some of this detail in the Summary tab on the Workbooks record, however this document provides a useful summary in one place.

In the Signer/CC setup section, choose the relationship type that will be used to define the person who is responsible for signing, for this example it will be Primary Contact. You can also add additional recipients as Carbon Copy recipients if you wish, but they will not be able to sign the Contract only view it.

Lastly, there are a few settings within the Advanced Options section that may change the behaviour of the integration. For a contract, we’d recommend that you keep the DocuSign Interactive Send Mode turned on so that you can review the contract before it is sent. All other Advanced Settings can be left as their default value, which is turned off. You can revisit the settings later to update these settings if you wish to change the behaviour.

There are no configurable DocuSign Anchors in the unified.xsl other than the one specified above. Therefore, the setup is now complete. Before you can send a contract for completion, you will need to configure your contract records, a Process Button and Form Layouts.
Stage 2 – Configure Contracts
Once the integration has been configured for contracts, you will need to configure any Form Layouts with the DocuSign Fields and a Button Process in order to generate a new DocuSign envelope for sending.
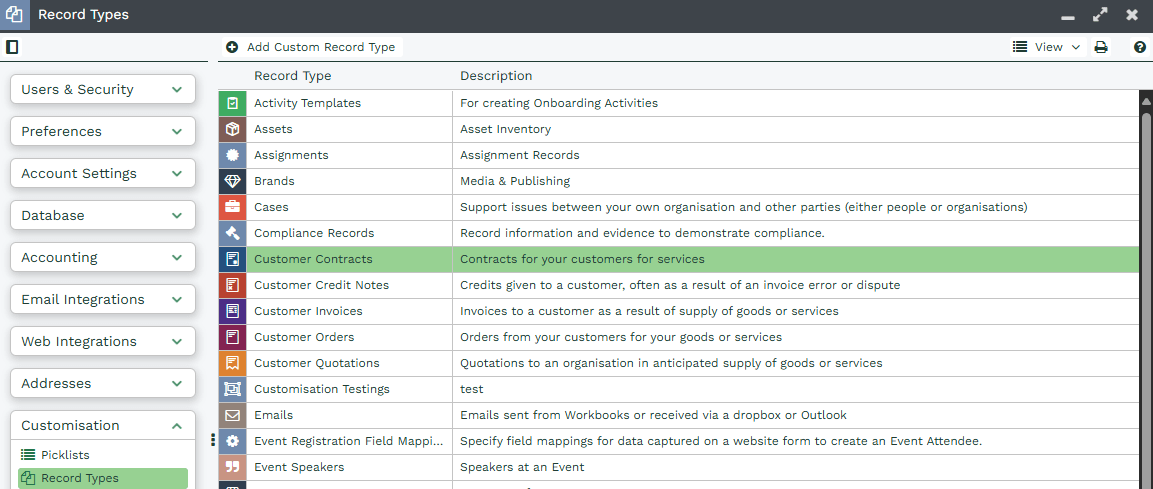
Go to Start > Configuration > Customisation > Record Types > Customer Contracts.
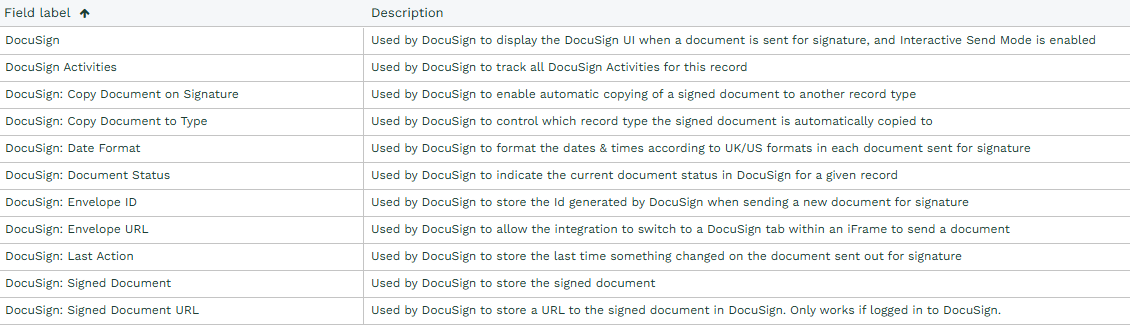
The Fields created via the DocuSign Integration have a consistent naming convention to help you easily identify them. Apply a filter to show the Created via OR Field Label contains DocuSign. For contracts, this will display the 11 Fields listed below:
Note: If you have large volumes of records in your database, Custom Field creation may be queued to limit the performance impact on your database. If any of the fields have a status of “Being Created”, then you will not be able to use the integration until all fields have finished.
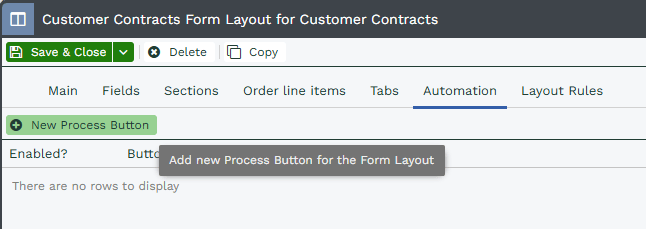
On the Form Layouts Tab, select the Form Layout that you want to generate the DocuSign Envelope from and go to the Automation tab, then select New Process Button.
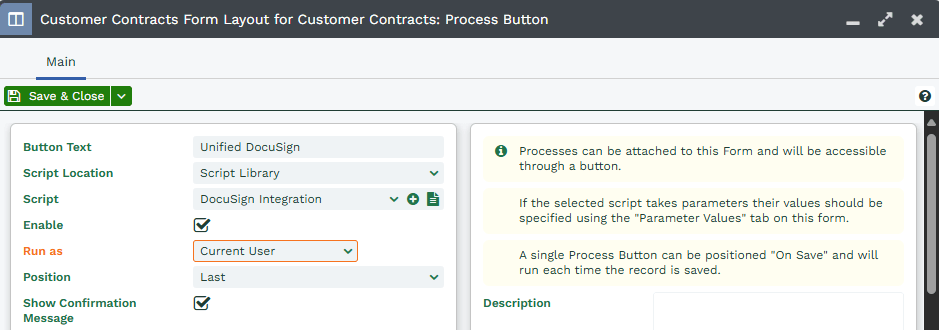
Set the following details to configure a new Process Button:
- Button Text: Ensure that your Button Text identifies the correct document, especially if you have different contracts for ones that won’t generate payment and ones that will.
- Script Location: Select Script Library
- Script: Select DocuSign Integration
- Enabled: Ensure the Enable checkbox is checked
- Run as: Set as the appropriate User that this button will run as. Usually “Current User” is sufficient and will enable you to see who has clicked the button if you have purchased the Audit module.
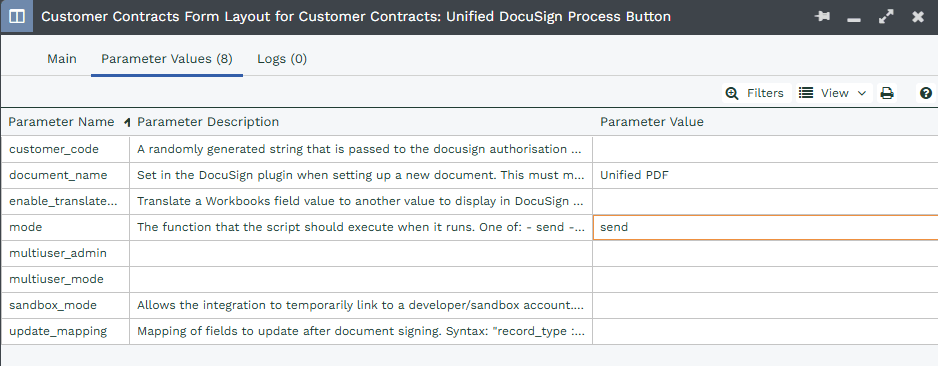
Click Save, then on the Parameter Values tab, set the values for the document_name and mode parameters – the values for these are shown on the final page of the plugin. The mode parameter should always be set to send.
Stage 3 – Send the Document for signing.
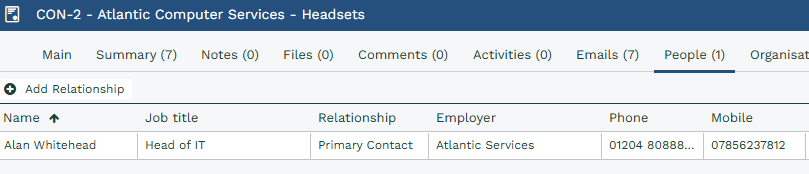
Before running the process you will need to ensure that there is a Person related to the document with the correct Relationship Type as configured during the setup otherwise the Process will fail to run. In our example above, this was set to “Primary Contact” so add a Person with a “Primary Contact” relationship to the People tab of the contract. This Person must also have a valid email address.
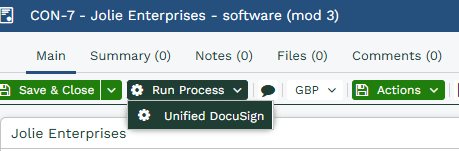
Once you have configured the appropriate Form Layout with a Button Process, you will be able to generate a contract. To generate a new envelope, click Run Process and select the appropriate Process to run.
Workbooks will switch to a DocuSign tab within the contract record (only if you left Interactive Send set to “On” during the document setup) allowing you to review the details of the contract and see how it will be presented to the Customer.
If you are happy with the document, click Send. Otherwise, click Actions > Discard. If you discard the envelope, you will need to reload the document and run the process again from the main tab.
After sending, you can review the status of the contract at any time from the Main tab of the record in Workbooks. The DocuSign: Document Status Field will provide you with a live update as to where the Document is in the workflow and the DocuSign: Last Action will tell you the date/time of which this action happened.
Note: Whilst it is useful to see individual document statuses, we have created a Forum Post that provides a step-by-step guide to building a Report allowing you to review all documents and their corresponding statuses.
Once the document has been signed you will receive a Notification in line with your Notification settings. The DocuSign: Document Status Field will be updated to Document Signed and a copy of the completed PDF will be able to review from the Workbooks main tab of a record from the DocuSign Signed Document Field.

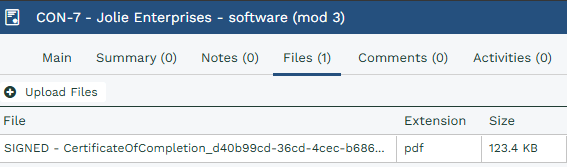
If you enabled the Certificate of Completion functionality, a PDF will be available for you to review from the Files tab, providing this tab has been configured on your Form Layout.